
It’s Here! It’s Here! It’s Here!
Yes, I am pretty excited my mini mill arrived. You might not think so based on my expression in the mini mill unboxing video below. Actually my wife said I look like I want to punch someone. (I assure you, I don’t want to punch anyone!) I will lighten up a little in the next video.
The following video will walk you through the unboxing of a Harbor Freight mini mill. By then end, you will be an unboxing expert. Be sure to watch all the way to the end for a Bonus Tip.
Click Here to Watch the Video on YouTube.
If you are planning to buy a mini mill from Harbor Freight make sure you use at least a 20% off coupon. Don’t pay full price. You can find coupons in many magazines and newspapers. If you can find a 25% off coupon even better. I have found the 20% off coupons to be much more common.
The Good – The Styrofoam inserts work really well to protect the mill
The Bad – The crate was infested with ants
The Ugly – The “Assembly and Operating Instructions” are useless
Unboxing
The mini mill unboxing was pretty straight forward. You will want the following tools handy.
- Safety Glasses
- Gloves
- Tin snips or side cuts
- Hammer
- Pry bar
- Box cutter (a Grimsmo Norsemen or a Tactical Keychains TK Vector would do nicely)
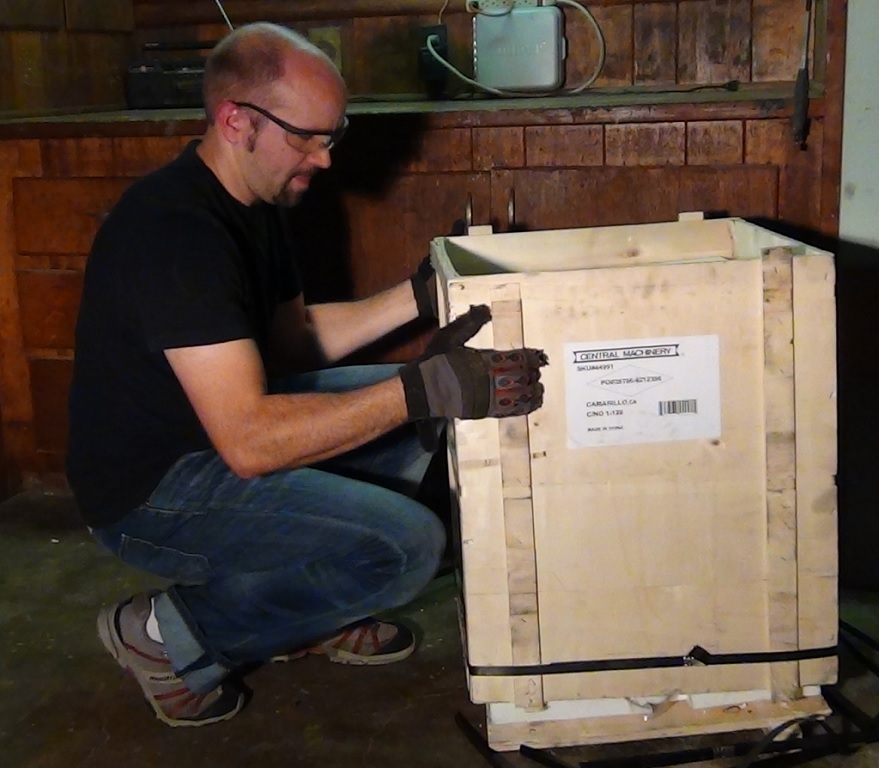
I didn’t have to use a hammer or pry bar to open the crate. Mine looked like it had been through a battle in the back of the truck. As you can see in the video I just lifted the lid off and then slid the four sides off the top as one piece. One of the side bands was missing completely while the other was plastic and probably applied sometime during transit. Nonetheless, the mill arrived without a scratch. I was pleased with the Styrofoam inserts. They did a great job of protecting the mill.
Once you have the crate open, you will see the mill is bolted to the bottom of the crate. The nuts are on the inside of the crate and were both just hand tight. No wrench needed to remove them.
The mill is 115 lbs according to the manual. It was pretty much all I could do to muscle the thing onto my bench. This part would have been much easier with two people.
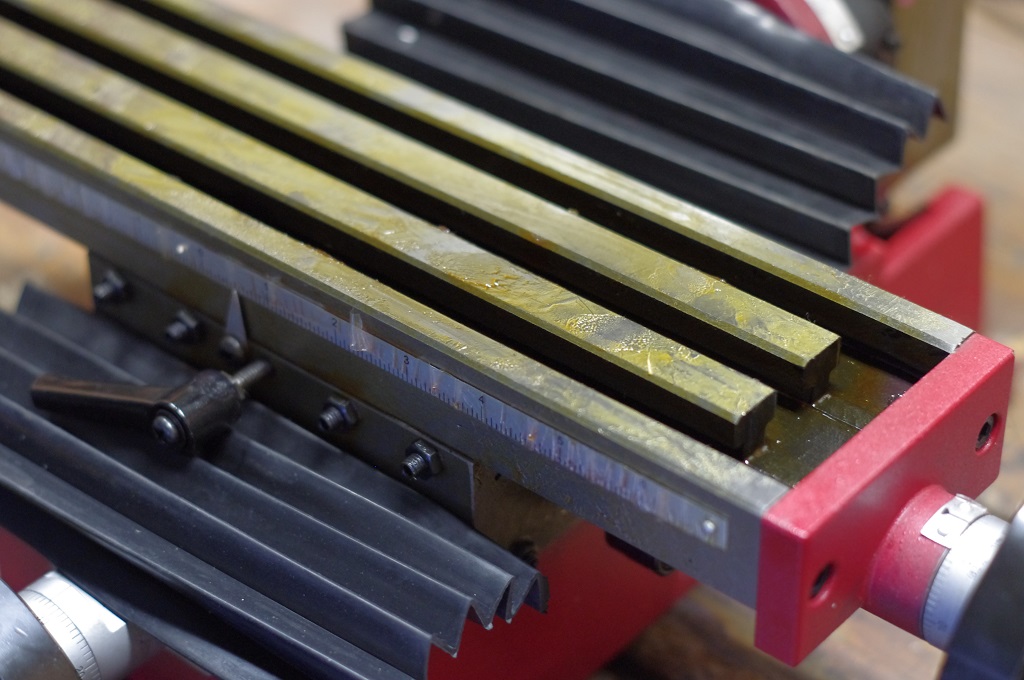
Look at all the grease! The upside is I didn’t find any rust.
All the metal surfaces of the mill are covered in grease to keep the parts from rusting. Makes sense given these are made in a factory in China and then shipped across the ocean where they sit in a warehouse in California. I am not looking forward to removing the grease. I will let you know how that goes.
Included Accessories
I was surprised to find T-nuts included with the mill. I thought those would need to be ordered separately. The picture below shows the accessories I received.
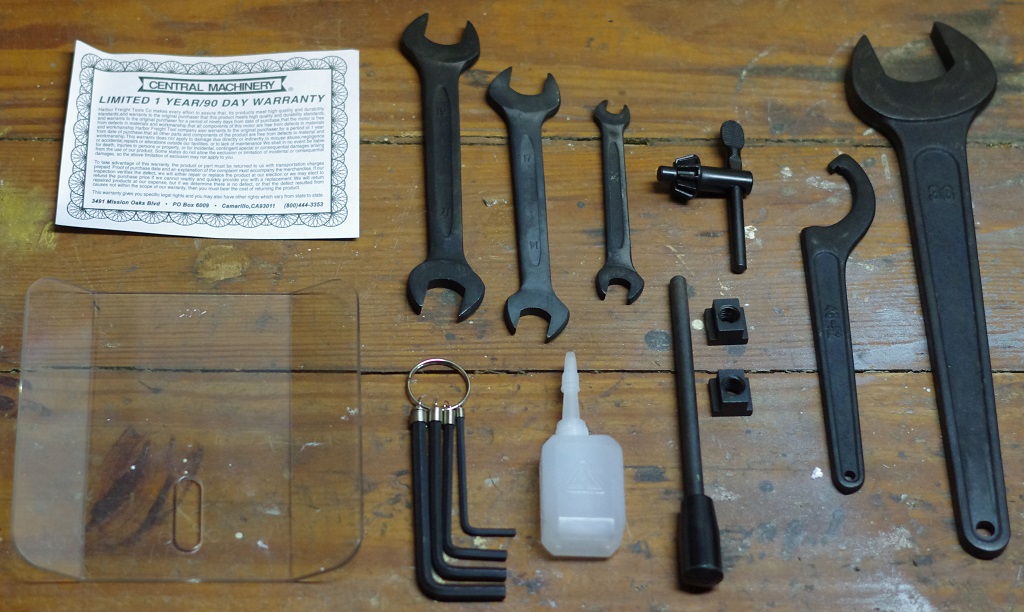
All the other stuff that comes with the mini mill.
Instruction Manual
The instruction manual that ships with the mill is pretty basic. For example, the manual states “If necessary, screw the Handles into the Small Hand Wheels.” I am trying to think of a case where that wouldn’t be necessary. Not to mention the manual does not talk anywhere about installing the Y axis hand wheel. I recommend you check out the Mini Mill Users Guide by the Little Machine Shop. It’s a 28 page PDF that goes into much more detail than the supplied manual.
Final Thoughts
Step one, order a mini mill, check. Step two unbox the mini mill, check. Step three get the thing cleaned up (looks like this will require lots of elbow grease).
What will you make with your own personal mini mill? Let me know in the comments below.