
I know what you are saying. Yea right Tim, there is no way you can do a mini mill CNC conversion for less than $5 dollars a day! I thought the same thing. Let’s break it down.
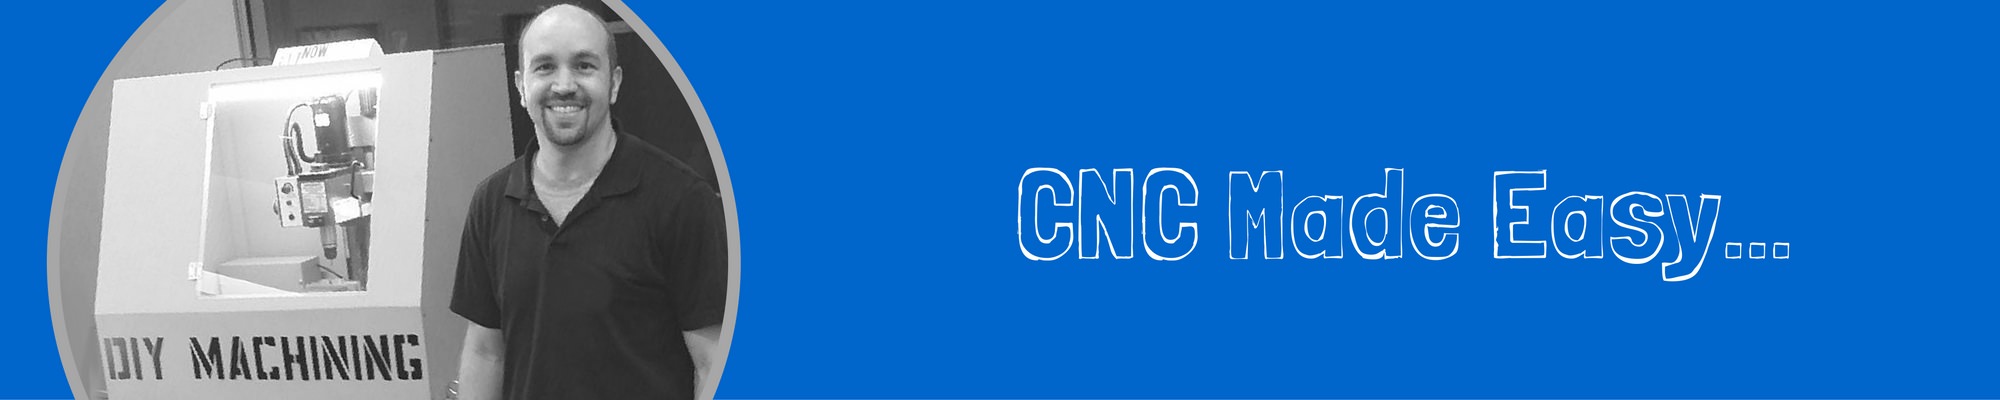
Typically, I am more than willing to spend money to buy good equipment. However, a CNC mill just seamed out of reach, even for the low end equipment. A mini mill CNC conversion seemed slightly more attainable yet I still had a hard time justifying the cost. I talked about getting a CNC mill with my wife, friends and almost anyone else who would listen or showed the slightest interest. Eventually, my wife demanded I get a CNC mill. Yes, you read that correctly, my wife demanded I get a CNC mill. Perhaps she was tired of hearing me talk about it after 5 years. Maybe she was hedging her bets and didn’t really think I would do it. Well, the game is afoot. I am in the process of building a homemade CNC mill. Rather, converting a Harbor Freight Mini Mill to CNC.
Do you think a CNC mill is to expensive for you? If you are like me then the answer is a resounding yes!
Why a Harbor Freight CNC Mini Mill Conversion?
But Tim, why are you going to waste your time & money building a toy CNC Mill? I talked in a previous post about my goals for the mini mill conversion. You can read more about that here. One of those goals was to learn the CNC process. I didn’t want to shell out $15K for a Tormach just to find out I don’t really like CNC machining or worse yet, learn a little and then get bored. I don’t want a $15K paper weight.
All these financial gurus say don’t by things. Spend your money on experiences, like trips to far off lands. That’s all well and good but a quick cost benefit analysis says I will get much more experience out of building my own CNC mill then I would by paying for a few classes to learn the basics.
I am the type of person who isn’t afraid to try things and thrives by learning on my own. Whether that is a product of my Montessori education or coded in my DNA, doing it on my own is how I learn best. (I suspect a little bit of both) What worked so well for me in the Montessori model was the ability to self pace and ask questions as they came up. I expect to ask a lot of questions of you during this process.
Inevitably, when you learn on your own, you will make mistakes. I am more comfortable crashing a tool on a $600 mini mill vs a $15K Tormach. The lower power is also less intimidating.
Finally, I am not planning to start a CNC machining business. I am not going to loose sleep over an operation that takes 2 minutes on a VMC taking me 15 minutes on my mini mill. I am the type of person who could sit an watch a VMC make chips for a long time. The owner of a machine shop that uses VMCs doesn’t want to watch the machine make chips; they want to see the machine finish parts. To them the VMC is a tool to make money. To me, the CNC mini mill is a tool to build my widgets and provide some good dinner party conversation.
CNC Mini Mill Conversion Cost
The following is a cost break down for my CNC mini mill conversion. Note the links below are to established companies. These are the same companies I used to order the parts for my build. You may be able to find these parts for less using ebay. This will give you an upper bound on the overall cost of the build.
| Item | MFG | Cost | Qty | Extended Cost |
|---|---|---|---|---|
| 1 | Harbor Freight - 2 Speed Benchtop Mill/Drill | $ 543.34 | 1 | $ 543.34 |
| 2 | Heavy Metal CNC | $ 639.00 | 1 | $ 639.00 |
| 3 | Automation Technologies - Nema 23 Motors | $ 31.95 | 3 | $ 95.85 |
| 4 | Mouser - Power Supply 24 Volt 8.8 Amp | $ 37.60 | 1 | $ 37.60 |
| 5 | Syntheos - GRBL Shield - Motor Controller | $ 49.99 | 1 | $ 49.99 |
| Total | $ 1345.78 | |||
A few notes about the table above.
1 – The price of the Mini Mill includes a 20% off coupon, shipping and tax.
2 – The GRBL shield requires an Arduino or equivalent board.
3 – I updated the link to the X2 Conversion Kit. The Original link called for a CNC Fusion kit. However, CNC Fusion closed in 2018. The new kit is from Heavy Metal CNC.
The Final Cost…
With a grand total of $1345.78 that works out to be just $3.69 per day. Well under $5 per day which means we have money leftover for tooling and accessories. After all, the machine will be useless without some extra equipment.
Am I preaching to the choir? Do you have a CNC mini mill, a Tormach or similar mill?? Hit me up in the comments and let me know what’s in your garage/workshop.
Nice well laid out site you have here. I have just embarked onto the Grbl path of CNC. In the past my fist cnc adventure consisted of an 8000lb Thermwood router from the late 80’s or early 90’s. I cut apart a parallel port cable and connected some geckos. This was back with Mach3 was Mach2 by Artsoft. No breakout board no isolation just cut and wire. Since then I have built several routers from scratch and retrofitted a couple harbor freight lathes. I have made a couple 3d printers from scratch using arduinos. I have made a couple multi axis camera slides and platforms using arduinos also. But I have never used Grbl. I have a small micro drill press at work I am starting to convert to cnc using Grbl. I will only be doing the Z axis even though I do have a 3 axis micrometer stage for the table. I use this thing for drilling 0.005″ diameter holes in 316 stainless. Currently the holes are 0.10″ deep and I do them by hand. For better control and to help make the new holes 0.025″ deep I am retrofitting it with Grbl.
Its too bad Grbl does not support more axis’s. I am retrofitting a old mid 90’s Emco VMC 100 with a 10 station tool changer and building a 5 axis trunnion table for it using harmonic drives. For now I will use Mach3 with a USB based SmoothStepper for the controller and 200v ac servos for the motors.
I know what you mean when you say a smaller less powerful machine is not as intimidating. I bought a Fanuc Robodrill last year. It has a 10 station tool changer and rapids at 1500 inches per minute. When it goes wrong it goes wrong in a blink of an eye. It scares the heck out of me most of the time. Hence doing the Emco VMC. Much smaller much slower much less scary. Only a 4″ x 4″ x 6″ work envelope. Takes up hardly any space.
Just wanted to say thanks for putting up this page. It has helped get familiar with Grbl.
thanks,
Donny
Donny – You sound like an expert! How do you like the Robodrill? I have seen a few on instagram and they look really nice. Thanks for the feedback.
Tim,
Thanks for the website. I really appreciated the discussion and equipment list.
Donny,
My business has a 10ft x 5ft x 3ft Thermwood 4-axis router that is getting ready to die, and I would love to revive it for my own hobby purposes. Can you give any guidance on what it took to do your Thermwood project?
Greg
Hi Gregory – Glad you found the site helpful. Let me know if you do not hear from Donny. I will see if I can connect you via email.
Just got one of these from a friend. Pretty stoked. What prompted me to comment is your montessori education. I went to a montessori school when I was young. I never thought much about it but after reading your blog I suppose it could be part of the reason I take everything apart and try to build things on my own instead of buying. Thanks. Joe.
Joe – Thanks for the comment. I am very grateful for my Montessori education. I agree, it seems part of the education was instilling a curiosity that can only be satiated by trying something for myself.
what Arduino broad did you use
Kenneth – Good question. I used an Arduino Uno R3 SMD. Check out this post for a complete walk through of how I setup my Arduino CNC controller. When I build my next one, I am going to use the Sparkfun RedBoard which is a clone of the Arduino Uno. It’s less expensive and still provides a royalty to Arduino.
The CNC Fusion web site is expired per Go Daddy.
There is a Facebook page at https://www.facebook.com/cncjedi/
The Facebook page indicates the company has problems that the owner is trying to fix. It would seem like the first thing to do is pay Go Daddy to restore the server!
Hi Benjamin, I agree. Unfortunately, my last order with CNC Fusion was never delivered. I opened a claim with PayPay and while they found in my favor, they could not recover the funds. I am working to find a replacement to CNC Fusion that I can recommend.
Have you found a different CNC conversion kit that you can recommend? Have you seen anyone selling a complete kit with motors and electronics?
Hi Mark – I found an alternative to the CNC Fusion Kit. Check out Heavy Metal CNC. They build and sell virtually the same kits that CNC Fusion sold. I will update the link. I am yet to find a complete kit that includes both the mechanical and electrical hardware required for the conversion. Is this something you would be interested in purchasing?
Hey, Tim. The link for item #2 “CNC Fusion – Mini Mill Kit#2” seems to have changed. I can’t find that item when I hit the link
Hi Chris – I found an alternative to the CNC Fusion Kit. Check out Heavy Metal CNC. They build and sell virtually the same kits that CNC Fusion sold. I will update the link. Thanks for pointing that out to me.
Let us know when you find that replacement… I’ve got two mills that need the CNC treatment and was banking on CNCfusion being around.
Hi Brendan – I found a replacement. Check out Heavy Metal CNC. You can order directly from them or through X2 CNC Conversion kit for table top mill “>Amazon. These are almost identical to what CNC Fusion sold.
“It was pretty much all I could do to muscle the thing onto my bench. This part would have been much easier with two people.”
My back won’t allow things like that. A simple eyebolt screwed into a floor joist above the edge of the bench and a winch of some type let me raise it to bench level, then push it over the bench and lower it. No strain on my back at all, no chance of dropping it.
Hi Ron, yes that would be a safer way for sure! I am not planning to move it anytime soon. 😉
Hey Tim , Have a question about the motor shaft size. When i go to purchase the X2 kit Heavy Metal CNC asks to choose shaft size. Please let me know. Thanks Jeff
Hi Jeff, good question. This will depend on the stepper motor shaft size you have chosen. I recommend you reach out to Heavy Metal CNC. They can help ensure the inside diameter (ID) of the shaft coupler between the stepper motor and ball screw will work for your chosen motors. If you cannot reach them, send me an email at Tim@DIYMachining.com
Ok thanks Tim. I ordered the harbor frieght mini mill and want to get into this. I’m going to do the same setup with all you described. I’ll email you after I call heavy metal. Thanks again for your help
Jeff, happy to help. Let me know if you have any questions as you go through the build.
I’m about to embark on a similar journey, being unable to afford a Tormach or other turnkey CNC. My biggest concern is the hooking up all the wires and circuit boards. I’ve got some good experience building PC’s, rebuilding engines etc, having a good understanding which end of a hammer to pick up, but troubleshooting which wires I swapped by mistake is another issue.
What’s your experience in that area?
Hi Chuck, as a self proclaimed gear head, the electrical and software part of the CNC world scared me the most. However, once you get into the build process, the steps are manageable. I recommend you take a look at this post on how to build your own Arduino Based CNC Controller. I assembled all of the electronic components on my workbench before I installed anything on the CNC machine. For example, I wired up all of my stepper motors to the gSheild and ran some test gcode before adding all the connectors and extending the stepper motor wires to reach the install positions on my machine. Start as simply as you can, verify what you have works before adding more parts and complexity.